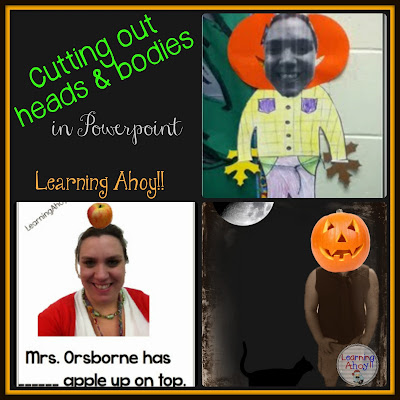
Well change of plans.... I was supposed to blog about my morning circle routine today, but all of my pictures are on my ipod. I had planned on bringing it home Friday (I use it daily in my classroom), but then we ended up having a flood day. Yes, I said flood day. I grew up with snow days and then when I moved to VA I learned about flood days. Right now I have lots of friends who currently are on water front property and waiting for the tide to go out. A nor'easter combined with hurricane Juqain, made for a wet combination. So, my morning circle routine will have to be another day.
Today I am going to show you a quick tutorial on how to cut out your own heads. I promise that it is so much easier then the days of going into paint and taking out pixel by pixel.
First open up PowerPoint or Word(the process is the same in both). You do need the latest version of Powerpoint to utilize this feature. You will start with a blank presentation. Add the picture you want.
Now click the remove background button. Don't panic when your picture turns purple!
The part of the picture that is purple is that part that is being removed. If you want more gone then click the - button and then click the parts you want to disappear. When you click those parts they will start turning purple. Sometime it is finicky so you may need to play with it a bit. Keep gong until you have everything gone. You can click keep changes and if you don't like it, go right back in and make adjustments.
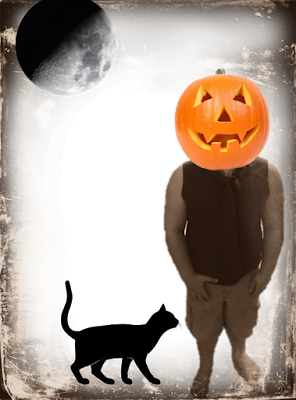
Now the background is gone! Save the picture as a jpeg or png (right click on it and then click save as picture). Now you can add it to other pictures or go to PicMonkey and add some other images like I did with the Pumpkin head one

Just think about all of the creative writing you could get out of this picture!!!
What will use your cut out heads and bodies for?
 Just in case you missed it, I posted a new freebie over the weekend. Check it out!

 Just in case you missed it, I posted a new freebie over the weekend. Check it out!


No comments:
Post a Comment
I love to hear from the crew!